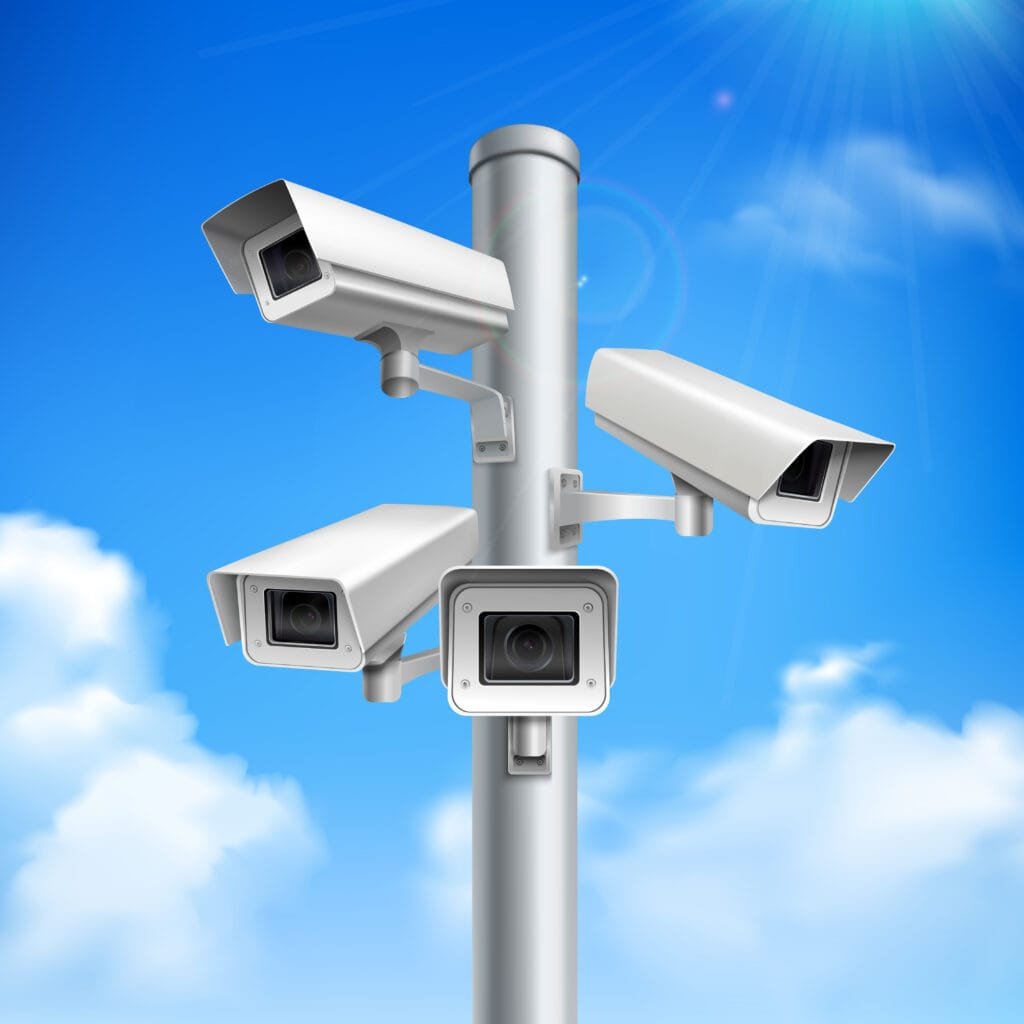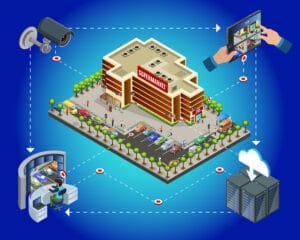
Installing CCTV cameras can provide an invaluable layer of safety to your property in an age when security is of the utmost importance. Setting up a CCTV system to protect your house or company does not have to be a difficult undertaking. We’ll walk you through How to Install CCTV Cameras Step by Step to guarantee you get the best surveillance coverage possible.
Table of Contents
How to Install CCTV Cameras Step by Step.
Step 1: Plan Your Camera Locations.
Take some time to plan the sites before you start drilling holes and mounting cameras. Determine areas of risk such as entrances, exits, blind spots, and high-traffic places. Consider the camera’s range of vision to ensure that critical angles are covered without obstacles.

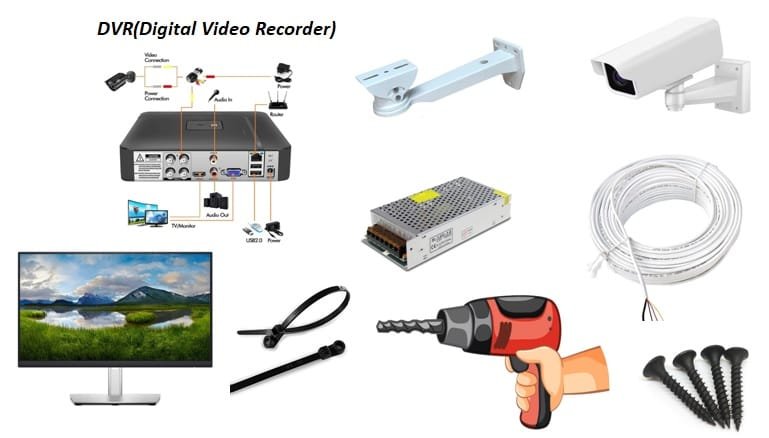
Step 2: Gather Your Equipment:
To install your CCTV cameras, you’ll need the following equipment:

- CCTV cameras
- Camera mounts or brackets
- Coaxial or network cables
- Power supply and adapters
- DVR/NVR (Digital Video Recorder/Network Video Recorder)
- Monitor or display device
- Tools: drill, screws, screwdriver, cable clips, etc.
Step 3: Mount the Cameras:
Before you embark on the camera mounting process, make sure you have the necessary tools and equipment at hand:
Follow these steps to mount your CCTV cameras:
- Using a pencil, mark the spot where you’ll mount the camera. Ensure it’s level and at the desired angle.
- Drill holes for the mounting bracket, using appropriate anchors if necessary.
- Attach the camera mount to the wall using screws.
- Carefully mount the camera onto the bracket and tighten any screws to secure it.
Congratulations on getting your CCTV cameras mounted in the perfect positions! The next crucial step in building your surveillance system is connecting the cameras to ensure they capture and transmit the footage effectively.
Step 4: Connect the Cameras:
Now it’s time to connect your cameras:
- Attach the camera cables to the camera.
- Thread the cables through the bracket to keep them hidden.
- Connect the other end of the cable to the DVR/NVR.
- Plug in the power supply for each camera.
Step 5: Set Up the DVR/NVR:
Setting up the recording unit is essential for storing and accessing footage:
- Connect the DVR/NVR to the monitor or display device.
- Connect the DVR/NVR to your network for remote access (if applicable).
- Power on the DVR/NVR and follow the setup wizard to configure settings.
Step 6: Configure Camera Settings:
Configuring IP cameras for your CCTV system may seem like a daunting task, but with the right guidance, it can be a straightforward process. IP cameras offer advanced features and remote access capabilities, making them a popular choice for modern surveillance setups.
Access the camera settings via the DVR/NVR interface:
- Set recording preferences: continuous, motion-triggered, or scheduled recording.
- Adjust camera resolutions and quality settings.
- Configure motion detection zones and sensitivity levels.
Step 7: Test Your System:
Before considering your installation complete, run a thorough system test:
- Check camera angles and coverage to ensure there are no blind spots.
- Verify the video feed quality on the monitor.
- Test motion detection by walking through the camera’s field of view.
- Check remote access if applicable.
Step 8: Maintain Your CCTV System:
Your CCTV system requires periodic maintenance:
- Clean camera lenses to avoid blurry footage.
- Check cables and connections for any signs of wear.
- Keep the DVR/NVR and cameras up to date with the latest firmware.
- Backup important footage regularly to prevent data loss.
By following this How to install cctv camera step-by-step guide, you can confidently install a CCTV camera system to enhance security and peace of mind. Remember that each installation may have unique requirements, so adapt these steps as necessary. Whether for your home or business, a well-installed CCTV system can make a significant difference in safeguarding what matters most.

